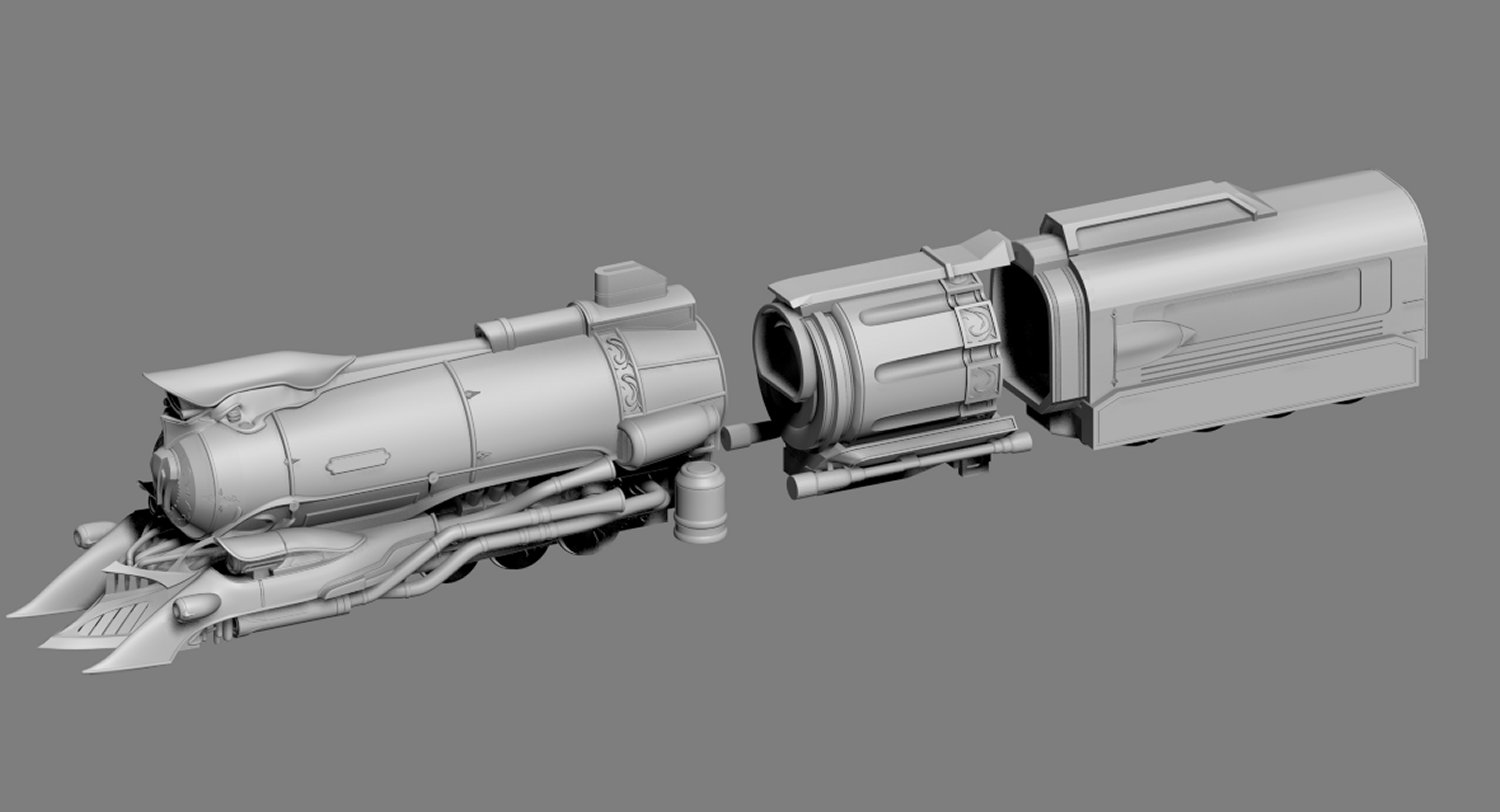
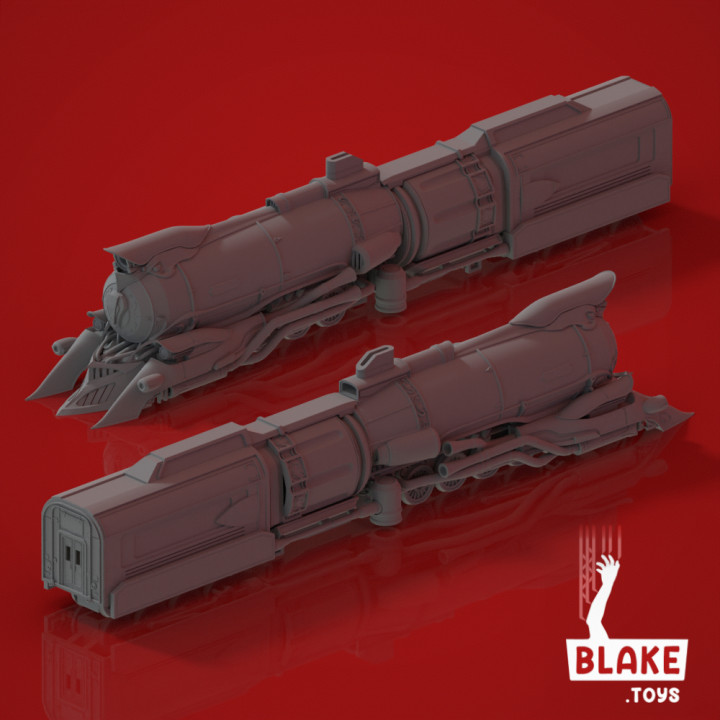
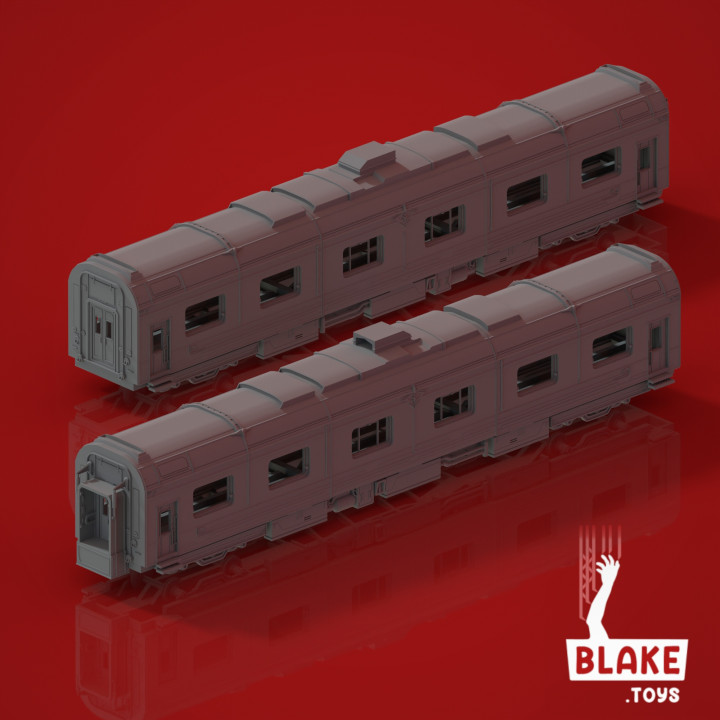
Astral Express from Honkai Star Rail
A work in progress
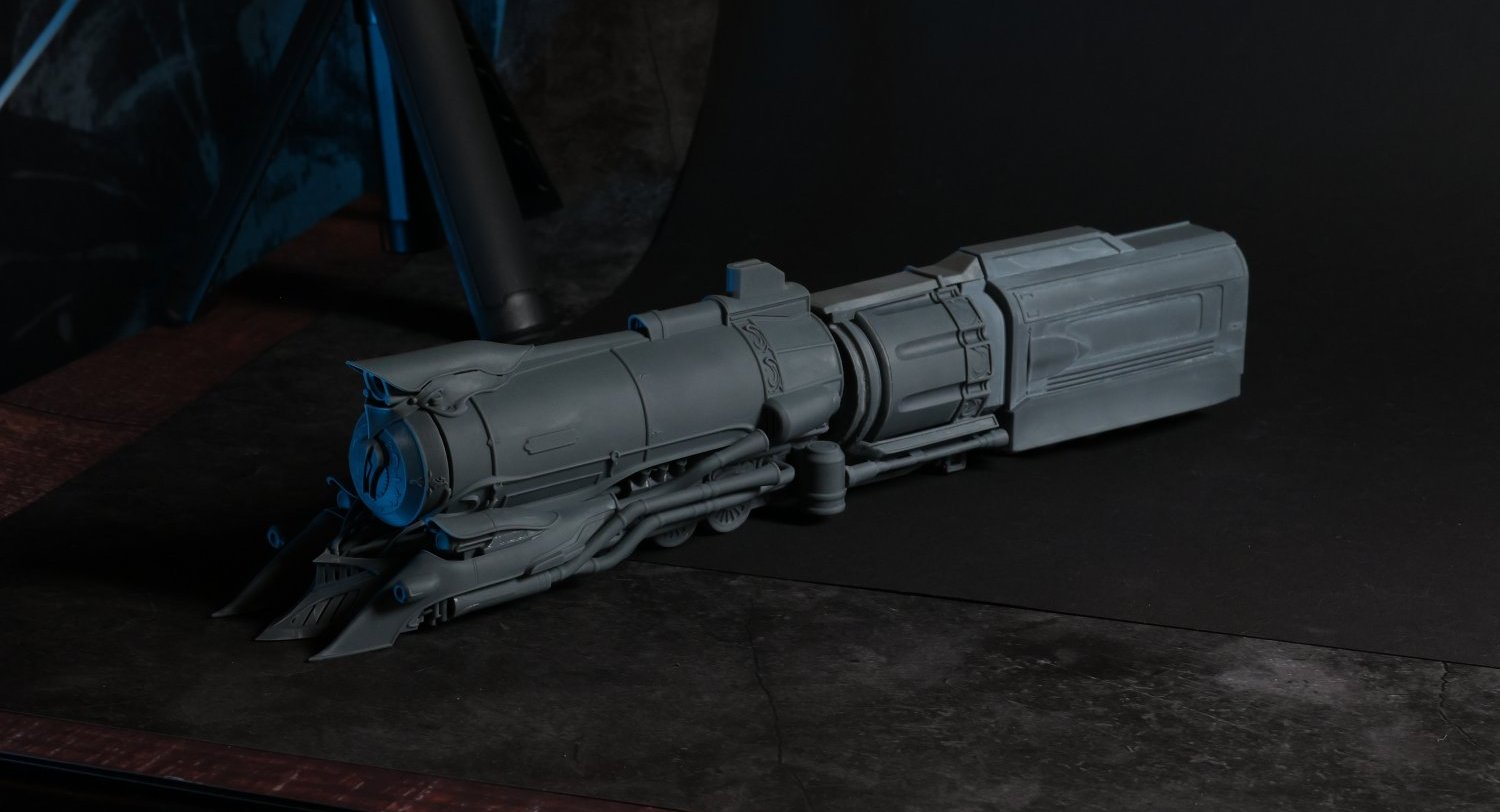
Here's a first look at my print of the Astral Express from Hoyoverse's latest game, Honkai Star Rail. I've just finished sculpting the Engine of the train:
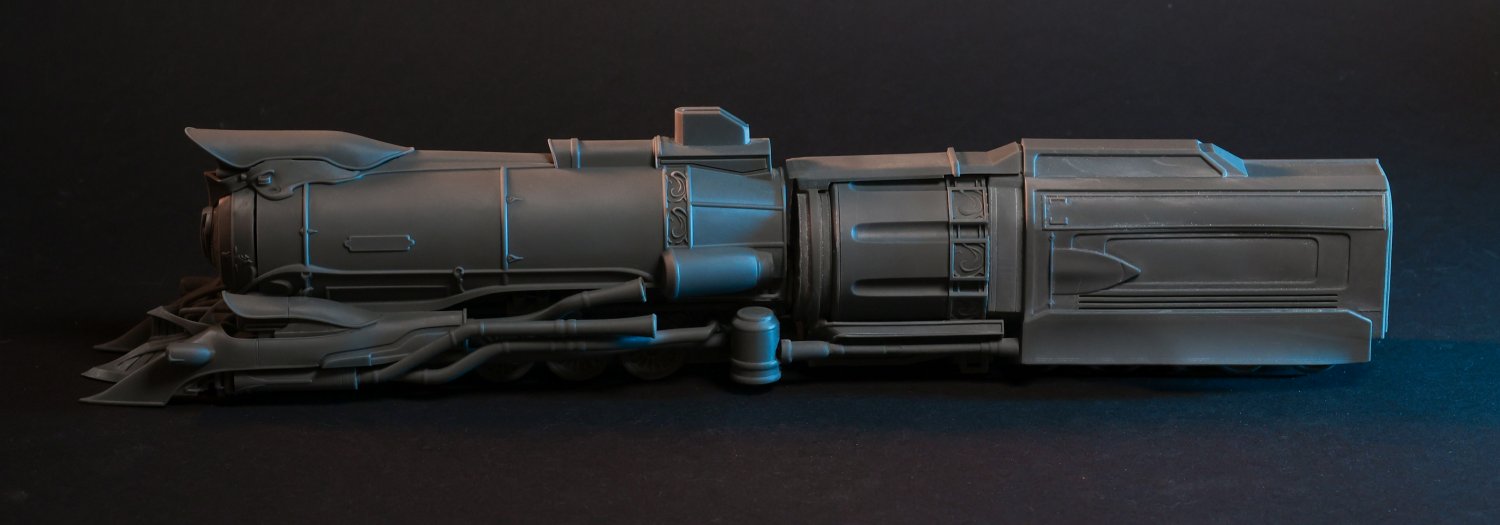
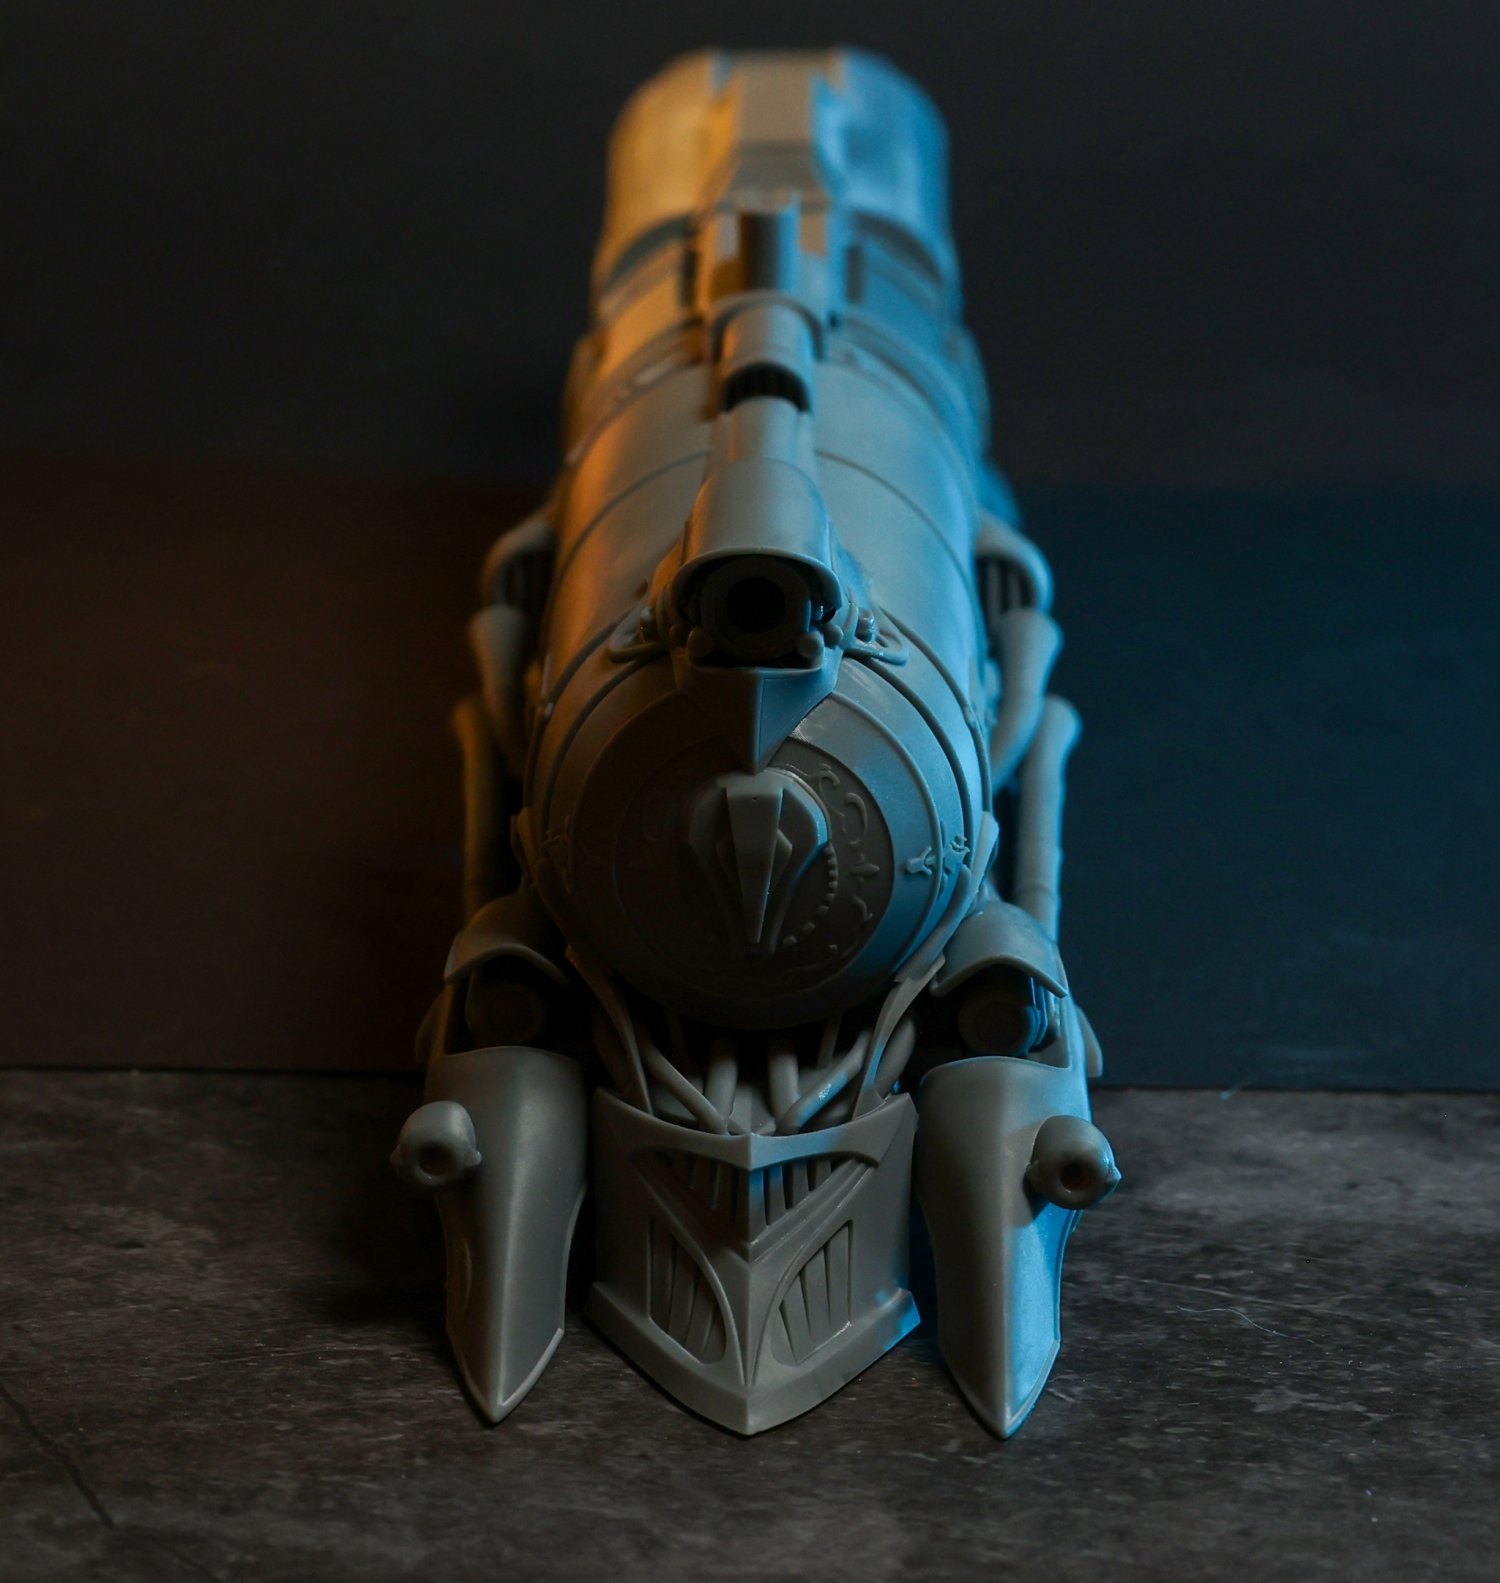
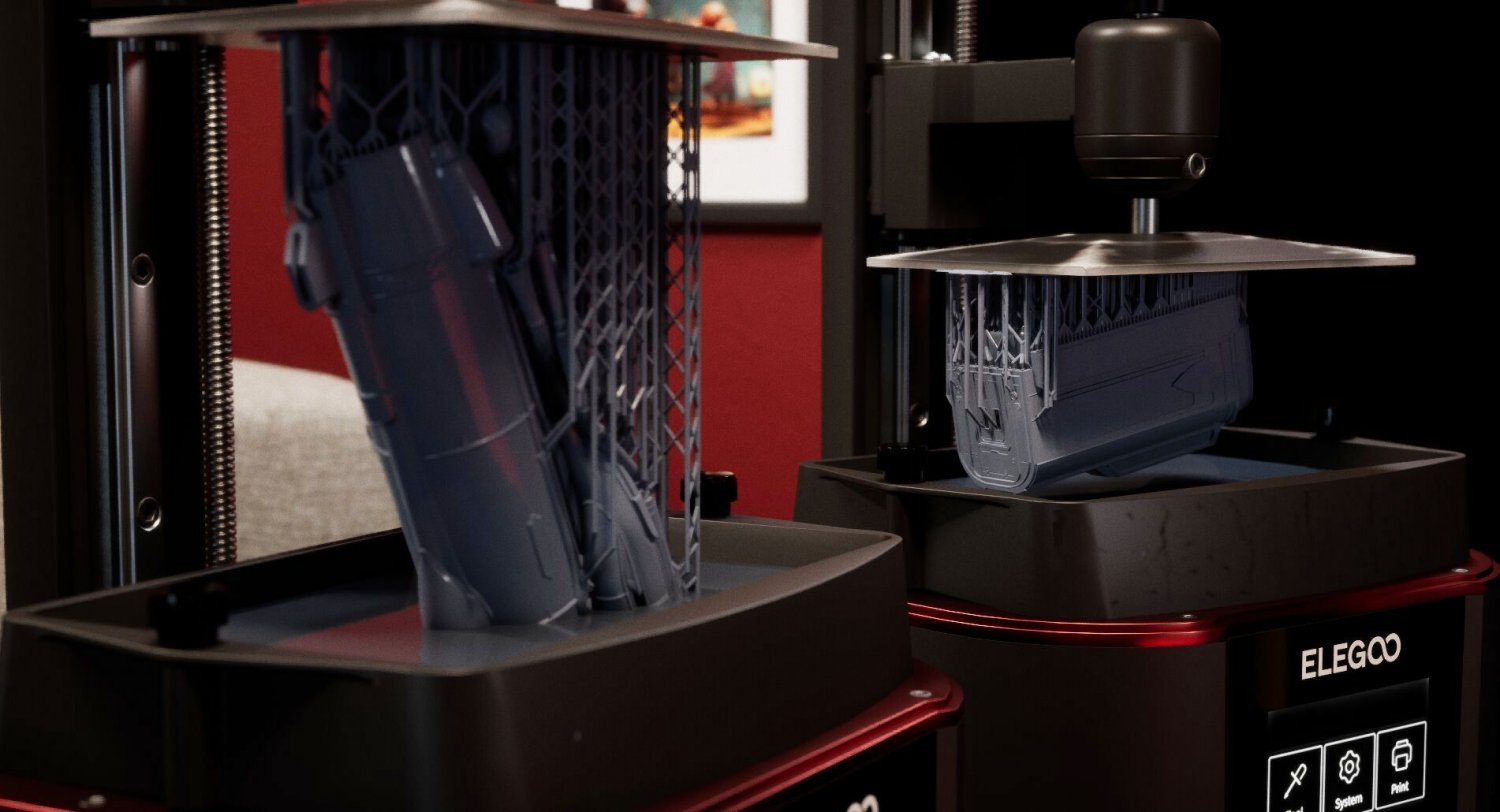
It's just shy of 5m polygons and contains all the details and decals usually lost in the texture for 3D printing. The mesh was recreated by hand to smoothen the surfaces and chamfer those edges and get everything printing nice and clean. It's also a bit of a beast, sitting at over 30cm end-to-end!
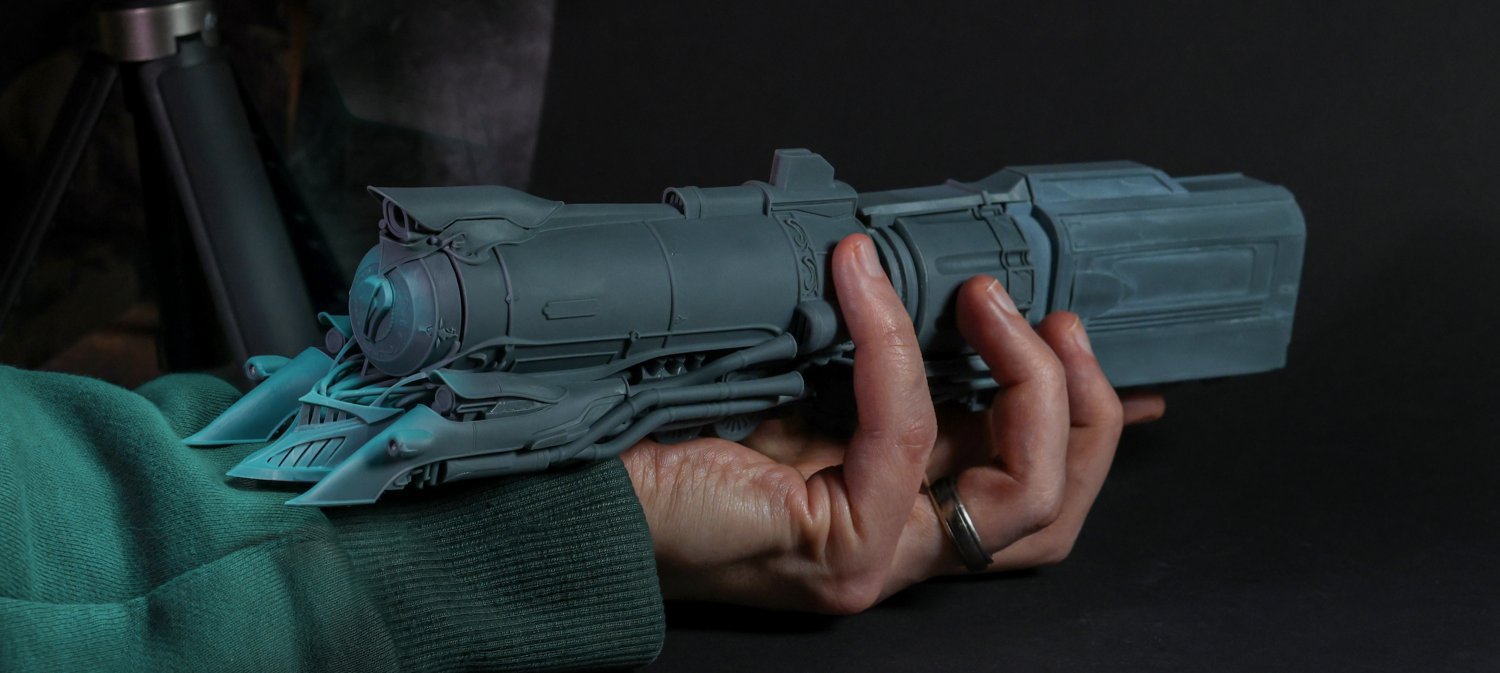
I'm now on the stage of cleaning up the print a little bit before I hopefully get some time to give it a lick of paint. As always, I'll post more pictures once I get it printed and painted.
A learning process
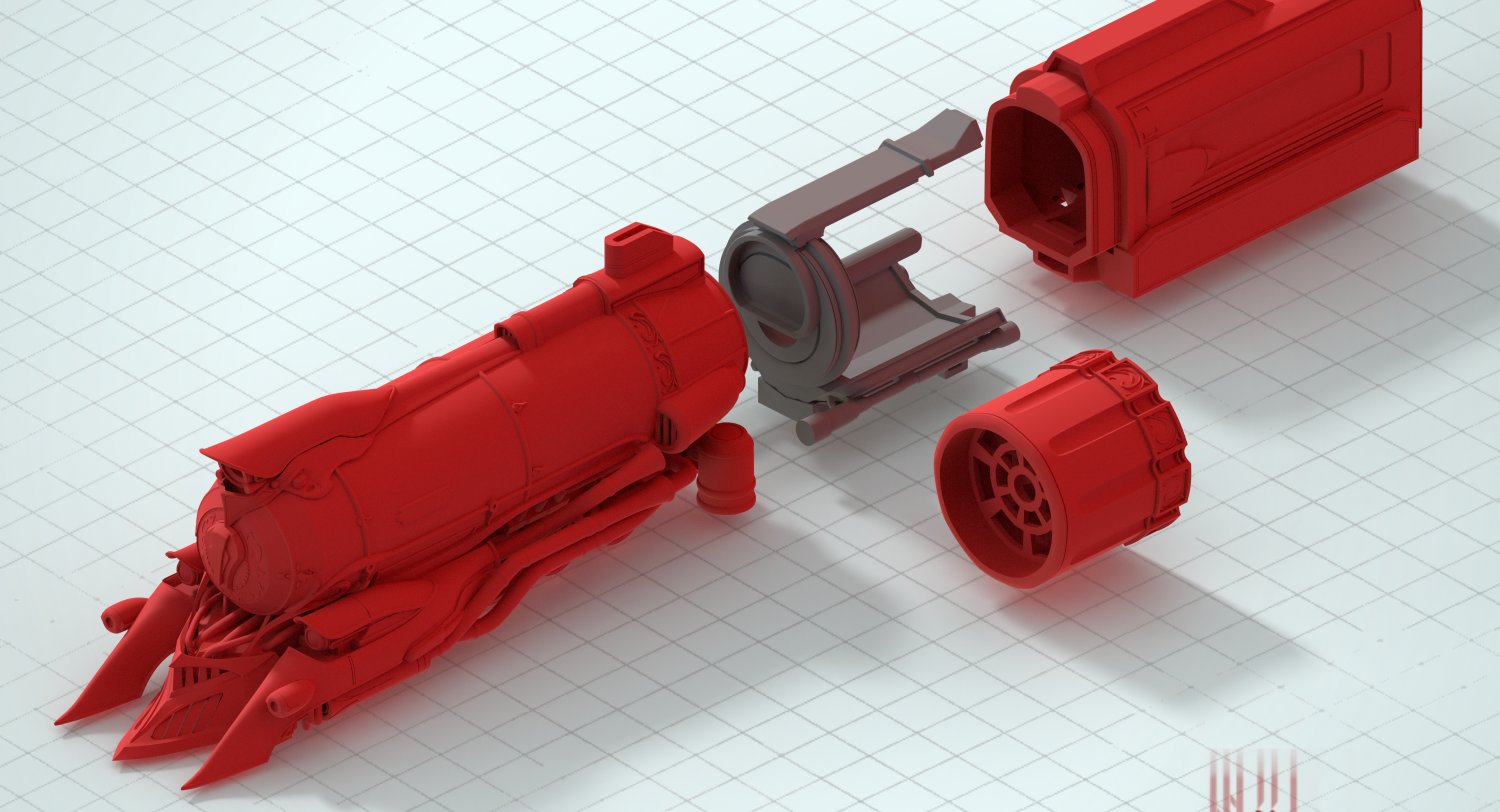
The initial print revealed some flaws in my original design. One thing I've noticed is that my current choice of resin (Elegoo 8k Water Washable) seems to warp a little too easily on curing. Flatter parts of the print warped towards the back a little, so I reinfored them in the STLs. I also added some internal supports to some of the thinner tubing and accessories towards the front of the engine. They were pretty solid, but I just wanted to make sure they held well, given how brittle resin can be. I also realised there needed to be some way to connect the front of the engine to the cylinder/revolver part, so added in some insets for the final mesh that aren't in my print.
The cylinder for the revolver is a separate mesh. This has the nice bonus of allowing that part of the model to spin freely. It's not functional (would be great to add some kind of lights and internal stepper motor to get it spinning by itself) but it's kinda cool.
I also experimented with 'contact spheres' for this point. Small spherical meshes that go between the support and the print (hoping to reduce damage when removing supports). Have to say I'm not convinced at the moment that they help any. It leaves little nodules on EVERY support point and they still create pocket if you snip off the blob. Sanding does give a cleaner finish but it's hard to sand these little spheres as they catch and tear the sandpaper. Perhaps I need to toy with the contact size a little more.
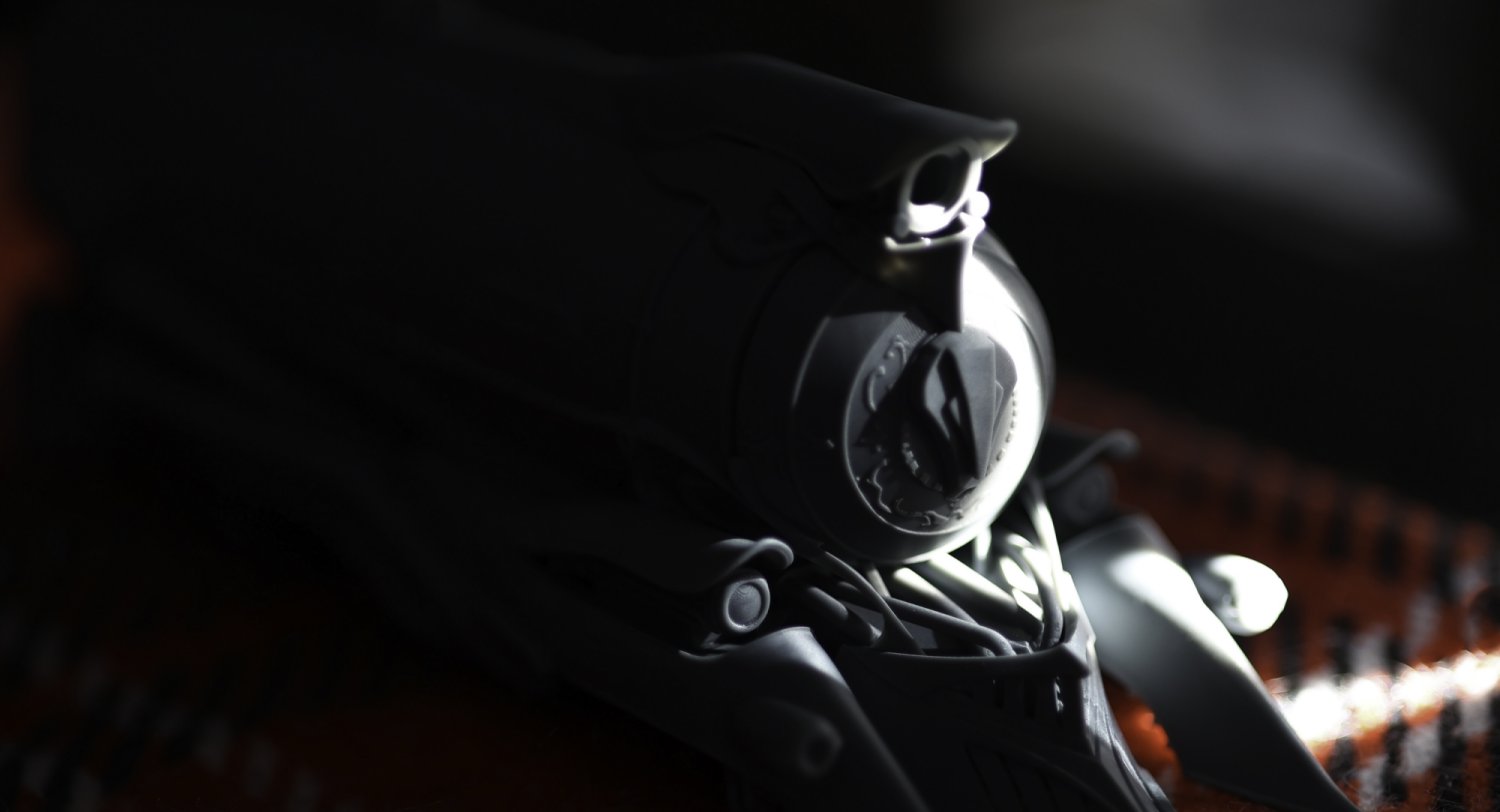
Here's some funky promo shots of the print and mesh:
If you want to try printing this yourself you can now find the STLs over on my new MyMiniFactory page here or my new Cults3D page here. There's lots on thee page for free but you can use the code blaketoys50 for 50% off! Be sure to dig around the page as you can find both the engine and the carriage parts.
Work continues
Next up I'll be working on the carriages that sit behind it. I've made a start and hope to have something to show pretty soon. Keep your eyes peeled on this page for updates and pictures!
Recommended articles
Here's a few articles I recommend if you're looking for things similar to this one.
March 7th Camera from Honkai Star Rail
Geo Slime from Genshin Impact
Venti from Genshin Impact
Related by tags
3dmodellingPerilous Prospector
Reprinted Slipgate from Quake
"Gamepig" from System Shock Remake
"Gamepig" from System Shock 2
Icarus from Quake 2
Silent Hill 2 - Pyramid Head Minifig
Technician from Quake 2
System Shock 2 - Duct
System Shock 2 - Button
System Shock 2 - Terminal Box
3dprintingRealsteone's "Crowmoder" bust
US APC from Battlezone
US Thunderbolt from Battlezone
Parasite Collectibles 'Emberfinch'
New toys arrived this month.
Nerikson's 'Alyara' sculpt
"Earthworm Jim" from the game
Elegoo Mars 4 Ultra
US 'Truman Bobcat' from Battlezone
US Tug from Battlezone
3dsmaxSystem Shock 2 - Door Med 1
System Shock 2 - Cryo Pod
Anya Forger from Spy x Family heh
wipUS Razor from Battlezone
US Badger Turret from Battlezone
US Scavenger from Battlezone
US Wolverine from Battlezone
US Grizzly from Battlezone
The Unkempt Harold from Borderlands 2
The Baby Maker from Borderlands 2
The Beowulf from LoGH
The Barbarossa from LoGH
Larger HMS Nike from Honorverse
3dRizomUV Bridge for 3ds Max
Image to Obj tool
Who I am
I'm Blake and I like to tinker with things and make stuff. When I'm not programming or developing random systems, I'm playing with electronics, doodling bits of art, 3D modelling or sculpting and painting things or nerding out watching sci-fi or horror TV.
From 2001 I worked in the games industry, eventually specialising in tools to aid in the development of video games and their engines. In 2011 I left the industry and teamed up with a few other talented composers to utilise my knowledge to help build the company 'Spitfire Audio'.
I also periodically compose soundtracks for video-games and have worked on titles such as The Stanley Parable, Portal Knights, Lost in Random as well as a few random projects such as trailer for Terraria and Minecraft and the like. You've probably also heard my music in random TV commercials at some point.
What I'm using to create
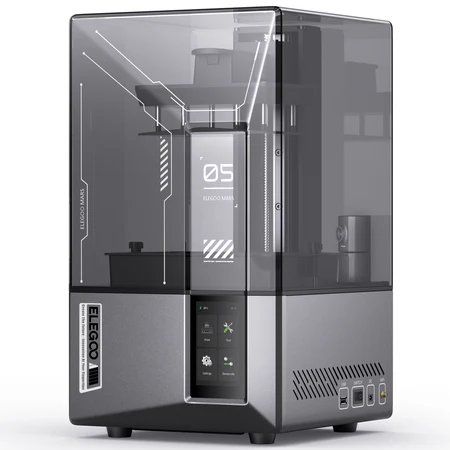
I use various bits and bobs to craft my shiz.
- Elegoo Saturn 4 Ultra, Mars 5 Ultra, Mars 4 Ultra,
- 3x Mars 3 Pro backup printers for speed,
- Elegoo ABS-like Resin 3.0,
- Sunla Water-washable grey,
- Elegoo Resin Space Grey 8k,
- Phrozen Luna curing station,
- Vallejo Model Color, Game Air, various sets,
- Iwata Eclipse HP-CS & Studio Smart Jet Pro Compressor,
- Random cheapo airbrushes for base coats,
- 3D Studio Max, ZBrush and Chitubox Pro.
