3D Resin Printing: Replacing a Mars 3 LCD
I recently started to get floaty flecks of submerged, semi-cured resin in the vat of my oldest Elegoo Mars 3 printer (bought January 2022). It wasn't affecting prints (as the pockets of plastic would fall off finished prints pretty easily) so I'd ignored it for a while, but it was slowly getting worse and filtering the resin each print was starting to feel like a chore and a bit wasteful.
After some initial diagnosis I'd narrowed it down to looking like the LCD was beginning to die. Here's what that looks like in case you're experiencing similar resin-skim-issues:
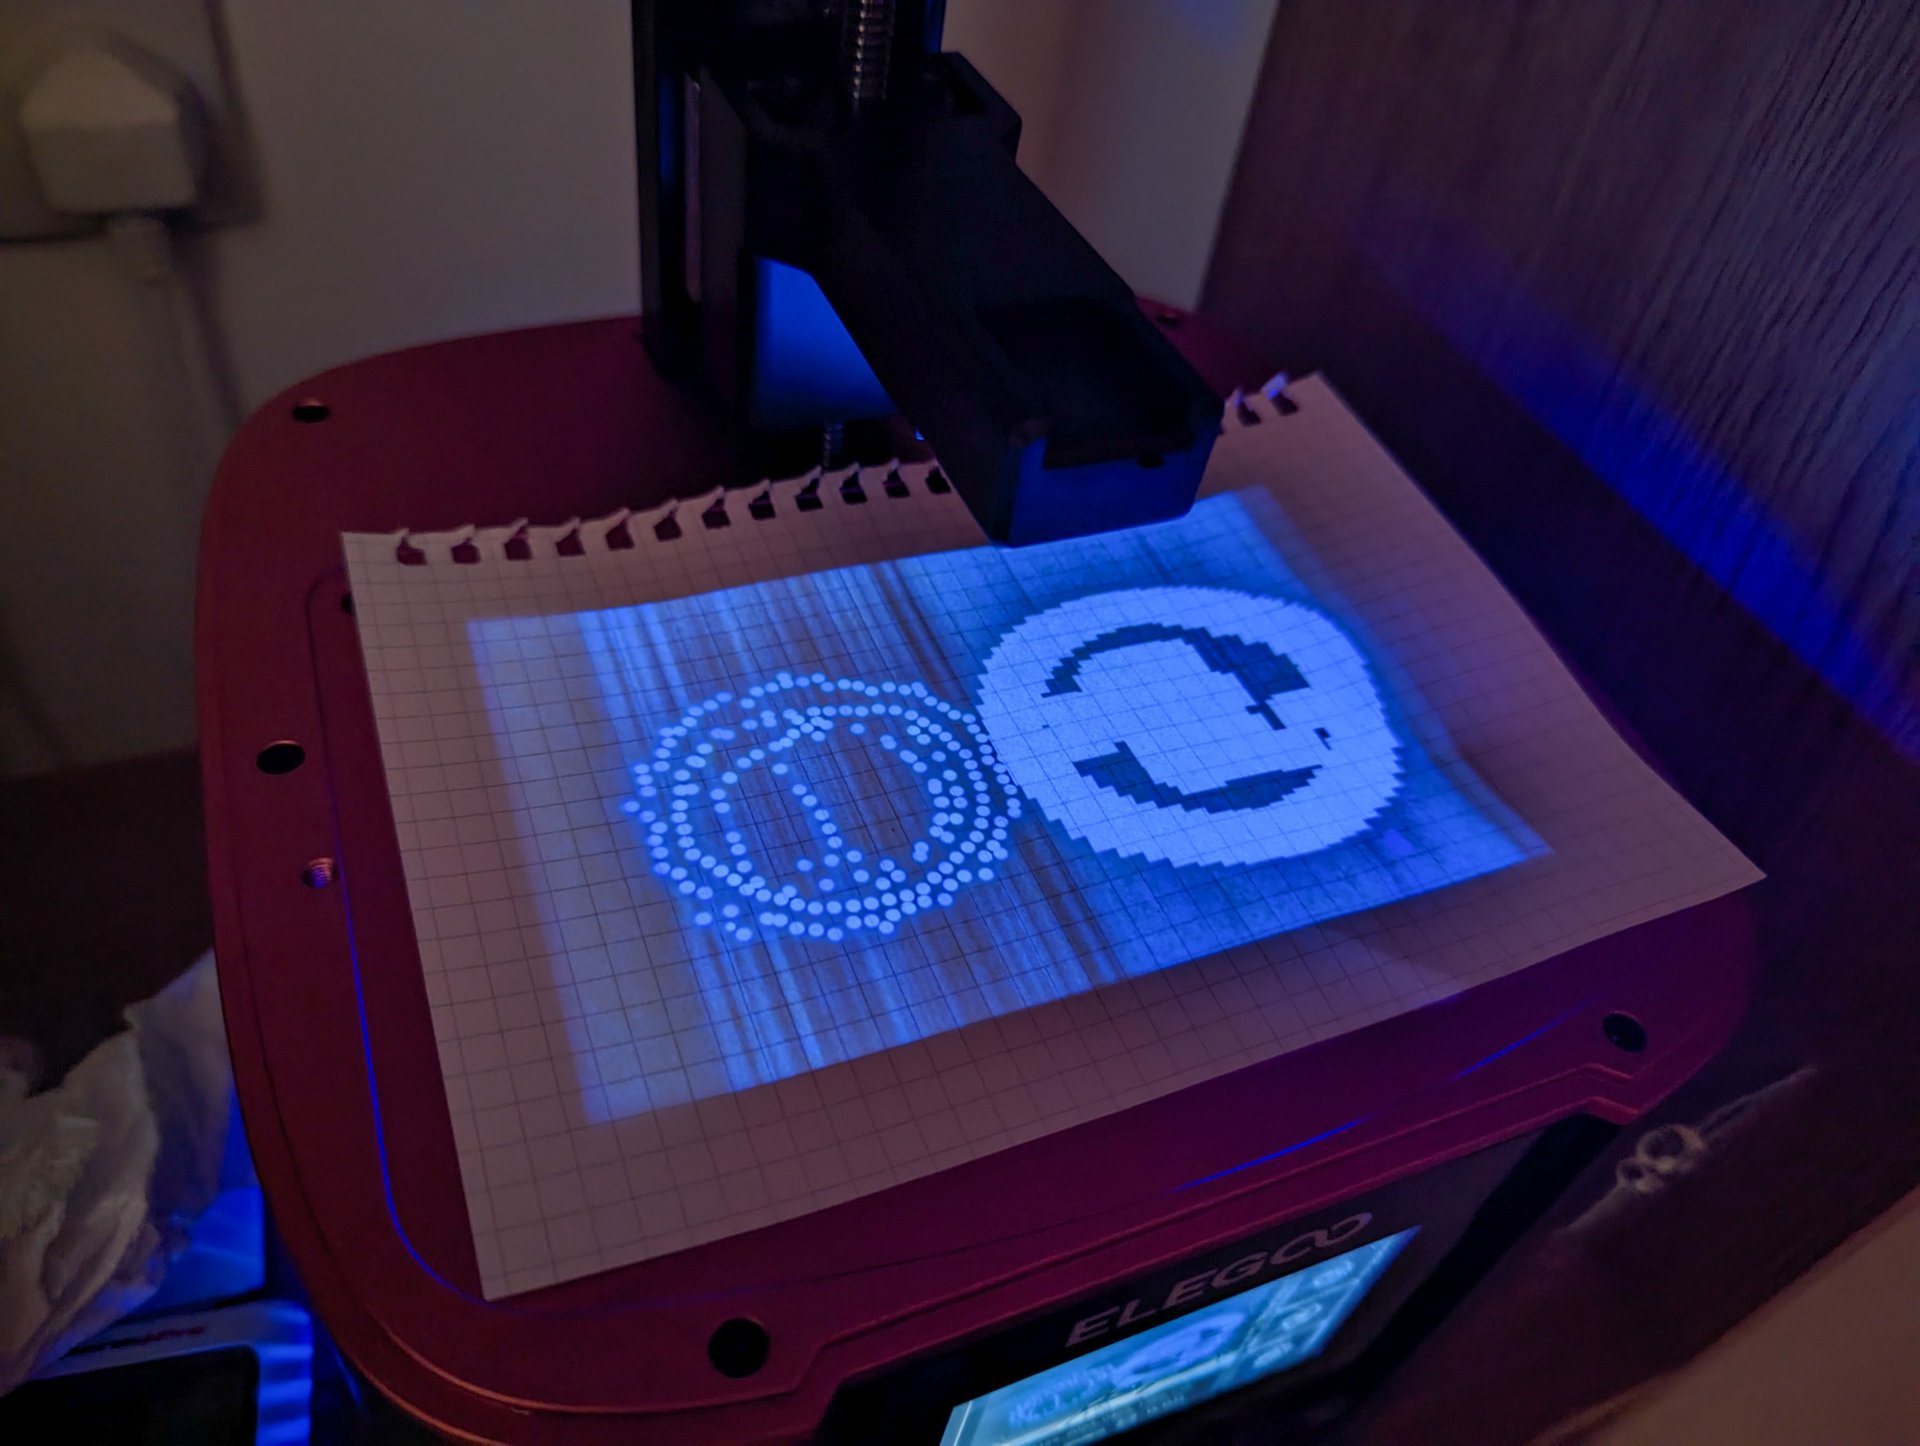
The instructional video was pretty simple to follow and it took me no more than ten minutes or so to replace the screen, but I figured I would detail some things I ran into to help anyone in a similar predicament:
- It's a relatively painless procedure and all the parts are easy to access,
- Wear some nylon gloves. I smothered the screen in oily smears of finger and palm prints before realising my mistake.
- The retainer clips holding the ribbon to the mainboard and existing LCD are hinge-type, not pull-away. Rotate them away from the board to unlock.
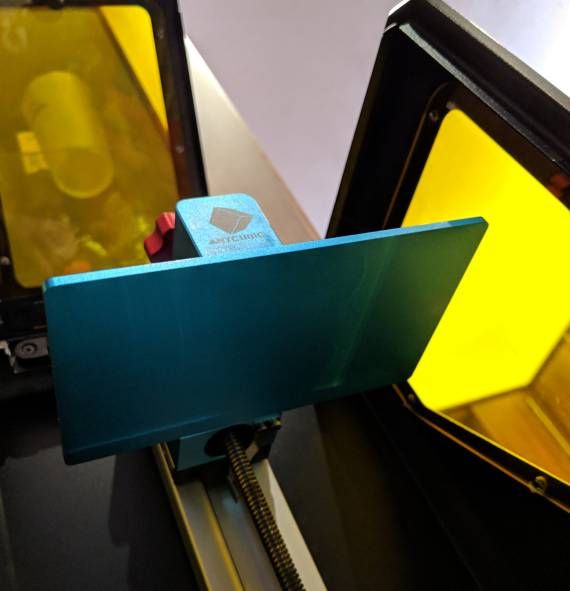
- The LCD is not as easy as the video makes it appear to remove from the frame. A box cutter blade was too weak so I also had to unscrew the six screws on the bed, gently lift it up to get underneath the screen and push up gently on the glass and screen from below to free it from it's fitting.
- Once you've got it out, the screen itself is a combination of a monochrome LCD display and a piece of glass stuck together. You need the piece of glass unscathed as it has to go back in under your replacement. These were firmly fixed together on my printer and seperating them shattered the existing screen on top (but luckily not the glass panel). Make sure not to use too much force if you're needing to keep the old LCD.
- Also unlike the video, tweezers were essential for placing the new double-sided-sticky-strips into the fitting.
Other than those points, the procedure was nice and simple and I had the printer back up and running in no time:
3D Resin Printing
Part of the '3D Resin Printing' series.
Things I've learnt during the process of 3D Printing with resin
Recommended articles
Here's a few articles I recommend if you're looking for things similar to this one.
New toys arrived this month.
Related by tags
3dprintingThe Gloomnomicon
Realsteone's "Crowmoder" bust
US APC from Battlezone
US Thunderbolt from Battlezone
Reprinted Slipgate from Quake
Parasite Collectibles 'Emberfinch'
Nerikson's 'Alyara' sculpt
"Earthworm Jim" from the game
Elegoo Mars 4 Ultra
"Gamepig" from System Shock Remake
articles3D Resin Printing: Storing resin between prints
3D Resin Printing: Things you'll need to print with resin
Who I am
I'm Blake and I like to tinker with things and make stuff. When I'm not programming or developing random systems, I'm playing with electronics, doodling bits of art, 3D modelling or sculpting and painting things or nerding out watching sci-fi or horror TV.
From 2001 I worked in the games industry, eventually specialising in tools to aid in the development of video games and their engines. In 2011 I left the industry and teamed up with a few other talented composers to utilise my knowledge to help build the company 'Spitfire Audio'.
I also periodically compose soundtracks for video-games and have worked on titles such as The Stanley Parable, Portal Knights, Lost in Random as well as a few random projects such as trailer for Terraria and Minecraft and the like. You've probably also heard my music in random TV commercials at some point.
What I'm using to create

I use various bits and bobs to craft my shiz.
- Elegoo Saturn 4 Ultra, Mars 5 Ultra, Mars 4 Ultra,
- 3x Mars 3 Pro backup printers for speed,
- Elegoo ABS-like Resin 3.0,
- Sunla Water-washable grey,
- Elegoo Resin Space Grey 8k,
- Phrozen Luna curing station,
- Vallejo Model Color, Game Air, various sets,
- Iwata Eclipse HP-CS & Studio Smart Jet Pro Compressor,
- Random cheapo airbrushes for base coats,
- 3D Studio Max, ZBrush and Chitubox Pro.